
What Is Leaf Lard and How To Use It
Article originally posted by Taste of Southern.
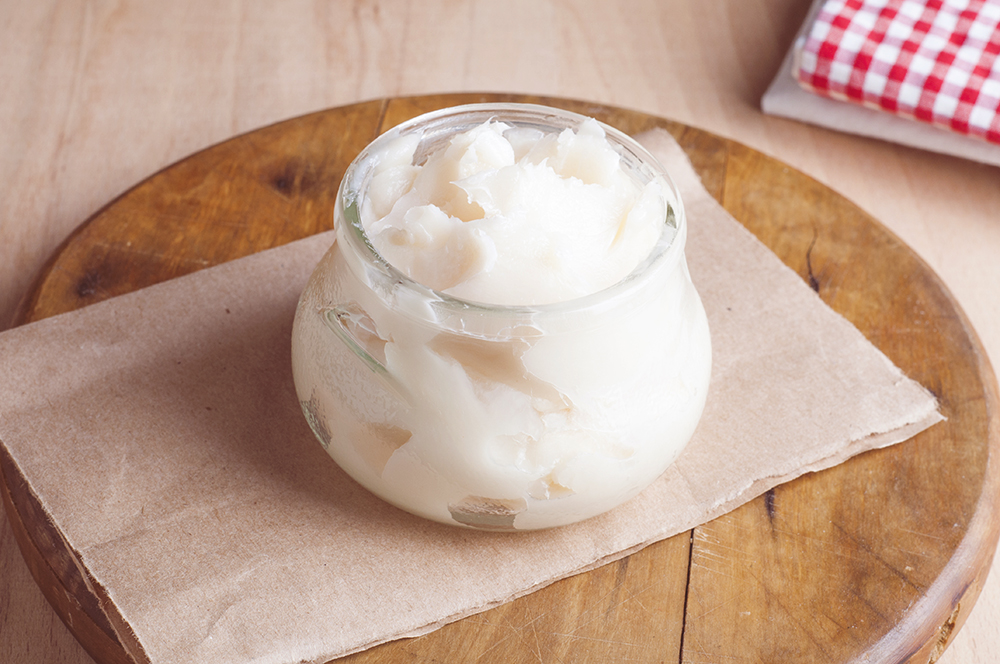
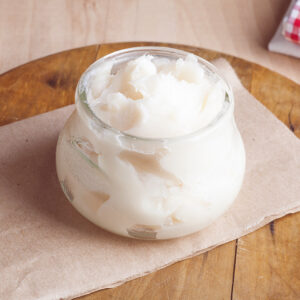
Leaf Lard is said to be the very best lard one can use to make pie crusts. It’s suppose to produce a very flaky crust and is favored because it has very little pork flavor as compared to regular pork lard.
Derived from pork fat, it is considered a premium lard, and is made from the small amount of fat that surrounds the kidney area in pigs. Mostly used in baking, it provides a moist, flaky crust for homemade pies. It’s considered to be more healthy than regular lard and many of today’s chefs also prefer it because it smokes less when heated.
Most of the so called lard you find in supermarkets today has been rendered from fat taken from various parts of the pig, mostly the “fatback” from the back of the pig. It’s not as pure and in order to make it shelf stable, it is usually overly processed and hydrogenated.
Because it is more pure, and has not been processed like commercial lard, Leaf Lard must be refrigerated or frozen, to keep it from going rancid and producing a bad taste when used. Many chefs today will only purchase leaf lard from a well known source, or just render it themselves. You can do the same at home, and we’ll show you the easy process in the few steps listed below.
How to Render Leaf Lard
 While it’s fairly easy to render down, you must remember to stir it about every 20-30 minutes during the 4-6 hours it takes to render over super-low heat on your stove top. It’s not something you’ll complete in an hour or two, so be sure to allow yourself the needed amount of time to render it down slowly.
To begin, you’ll need about one pound of Pork Leaf Fat. Leaf fat (what it is technically called before it is rendered) can be stored in the refrigerator, but it’s best if you pop it in the freezer for about 30 minutes prior to slicing it up.
Slice your leaf fat into several pieces, about 1/4 of an inch thick, maybe just a little larger. Then, dice all into small cubes. The smaller pieces are suppose to yield more fat as it renders down. It doesn’t take too long to cut it all up. Keeping it good and cold is the key to making the work go easy. It does get a bit slippery so be careful. And, you’ll certainly want to be using a good sharp knife.
Next, you’ll need a good thick pot if you have one. A cast iron or dutch oven would be great if you have that.
Begin the rendering process by adding 1/2 cup of water for each pound of fat you’re planning to render. Place the pot over Medium heat on your stove top and let the water come up just to the boiling point. Adding the water will help prevent the fat from burning or scorching as it begins to heat up. Once the water is hot, REDUCE the heat down to the lowest setting your stove provides.
Place the diced fat into the pot. You’ll want to use a wooden utensil to stir this with throughout the process. Just stir the fat around a bit and mix it in with the water. You’ll need to stir this about every 20-30 minutes to keep the fat from sticking and scorching on the bottom.
After several hours of rendering over the lowest heat setting on the stove, the water will evaporate out, and you’ll see liquid fat in the sauce pot.
Prepare a storage jar, cheesecloth, and some patience. You’ll want to carefully strain the fat pieces out of the rendered fat with your cheesecloth into your storage jar. The liquid will look yellow at this point, but it will cool down into some very white, beautiful Leaf Lard soon.